 In this blog, we are going to build a QR code scanner and generator in Next.js.
QR codes are currently powering everything in the world. from payments to id cards, everything has a QR code on it. Here in this small demo we will be building a small demo of Scanning and Generating QR codes on the Web.
Firstly create the next app
npx create-next-app qr-code
Once the installation is done create simply start the local server by going to the project folder
ls qr-code
npm run dev
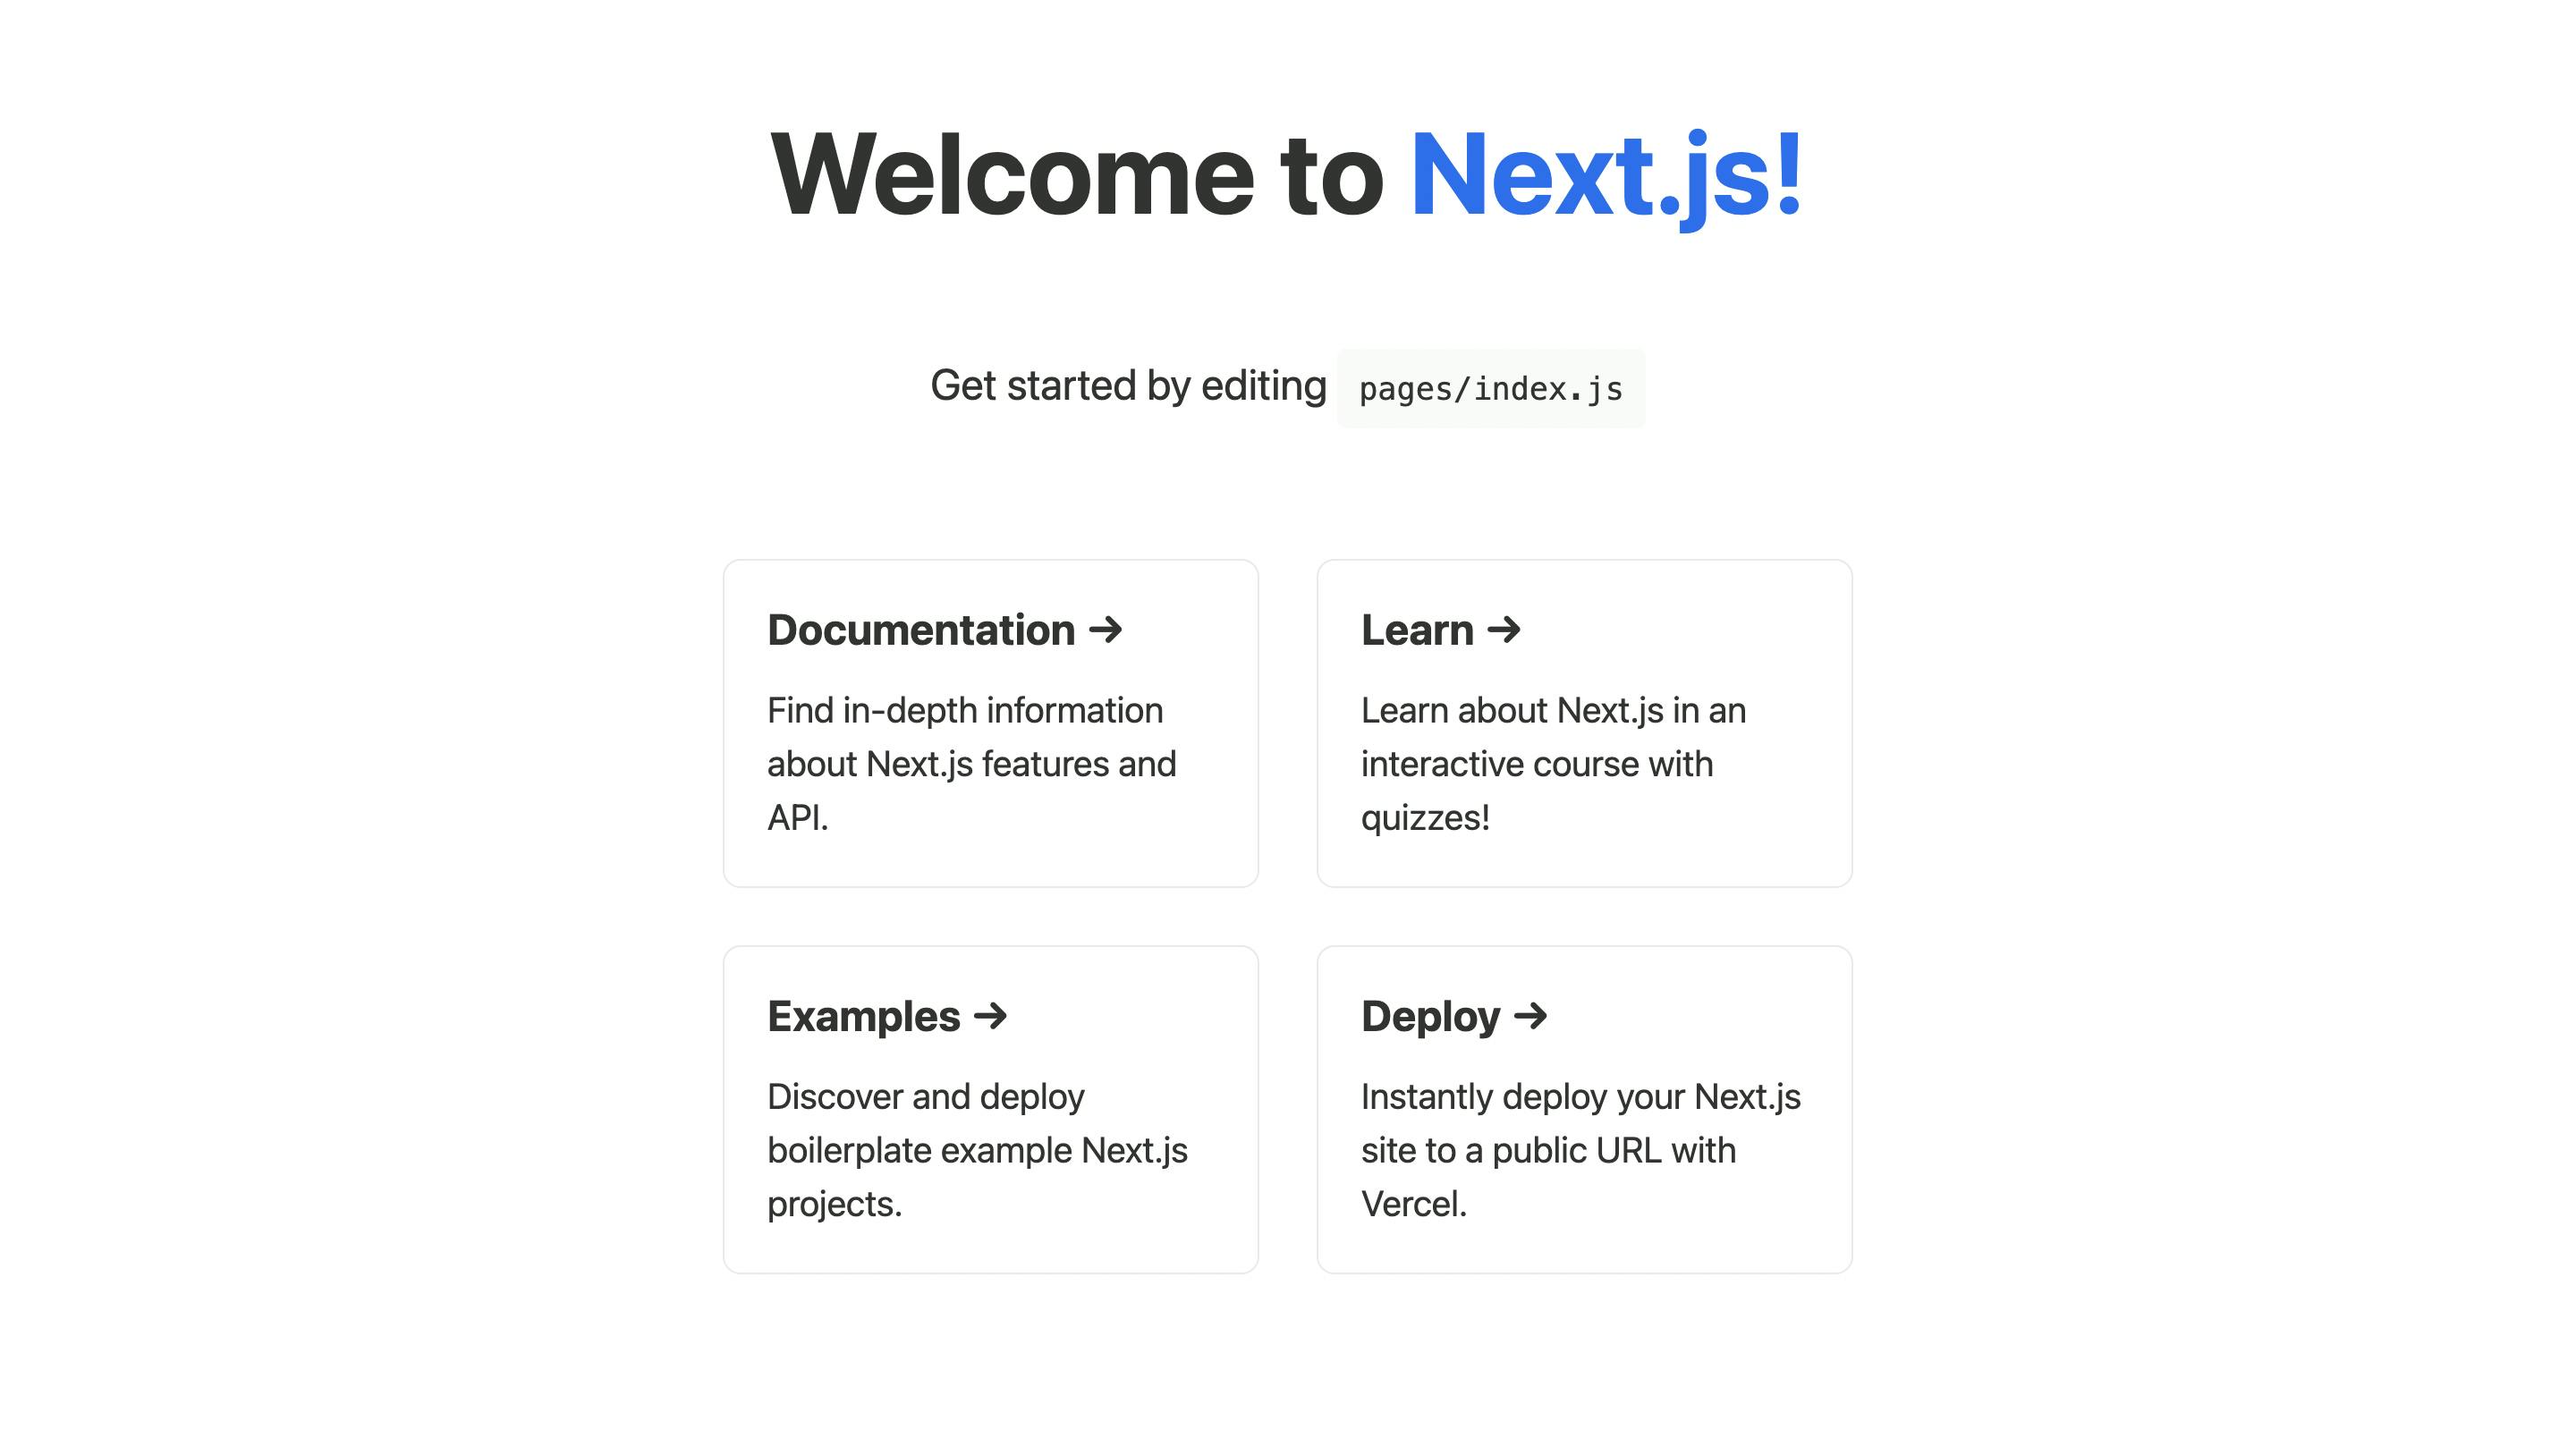
Now you will see the holy welcome next.js screen
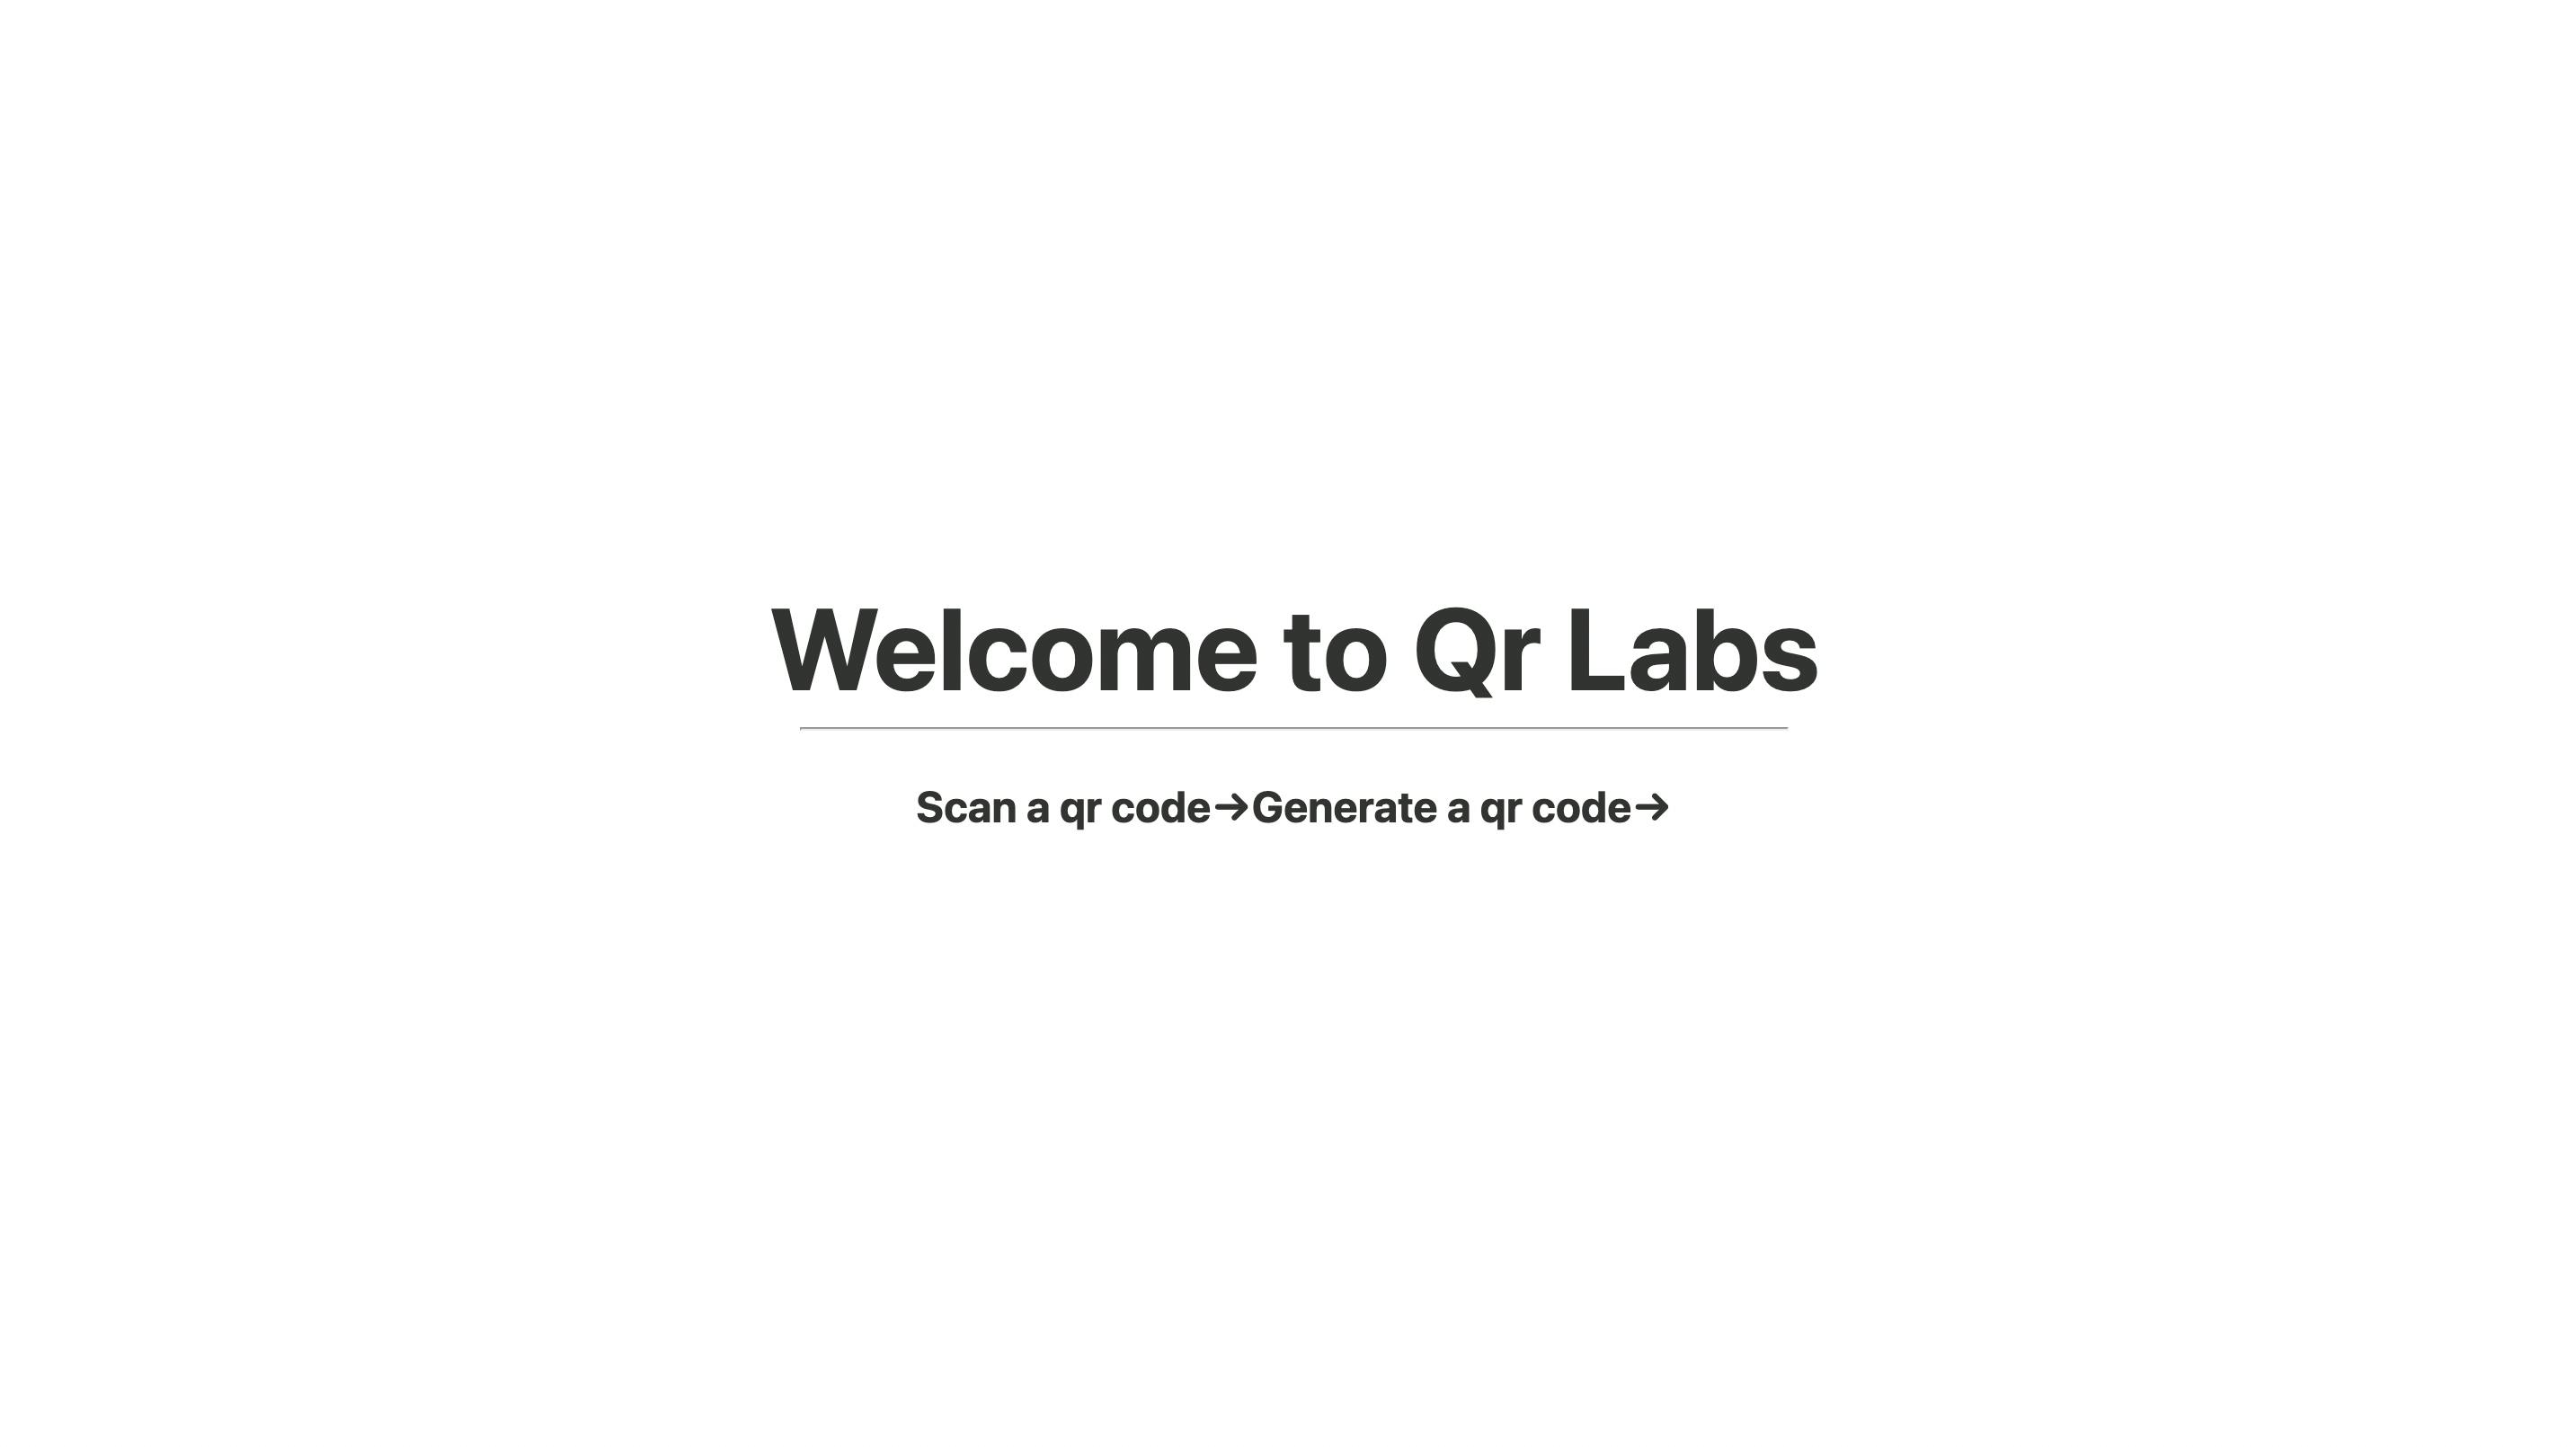
Now just go to the vs code screen and start editing the index.js file on the page we will remove the code and make simple it simple and add links to new routes ... Scan and Make codes. make sure you have modified index.js as follows -
import Head from 'next/head'
import Image from 'next/image'
import styles from '../styles/Home.module.css'
export default function Home() {
return (
<div className={styles.container}>
<Head>
<title>Qr - Code</title>
<meta name="description" content="Generated by create next app" />
<link rel="icon" href="/favicon.ico" />
</Head>
<main className={styles.main}>
<h1 className={styles.title}>
Welcome to Qr Labs
</h1>
<div className={styles.grid}>
<a href="/scan" className={styles.card}>
<h2>Scan a qr code→</h2>
<p>Scan a qr code with your camera</p>
</a>
<a href="/generate" className={styles.card}>
<h2> Generate a qr code→</h2>
<p> Generate a qr code with text or a link</p>
</a>
</div>
</main>
<footer className={styles.footer}>
<a
href="https://vercel.com?utm_source=create-next-app&utm_medium=default-template&utm_campaign=create-next-app"
target="_blank"
rel="noopener noreferrer"
>
Powered by{' '}
<span className={styles.logo}>
<Image src="/vercel.svg" alt="Vercel Logo" width={72} height={16} />
</span>
</a>
</footer>
</div>
)
}
and then also add scan and generate a page in the next js pages directory.
//scan.js
import React from 'react'

function Scan() {
  return (
    <div>Scan;</div>
  )
}

export default Scan;
//generate.js
import React from 'react'

function Generate() {
  return (
    <div>Generate</div>
  )
}

export default Generate
Now we would be working on the Generate Qr Code first... firstly to generate the QR code we would be using React QR code use
npm i react-qr-code
to install react-qr-code
after installing go to the generate.js file .. firstly we need to make a text input where we can take input from the user and store that string value in our QR code. after that we will pass that value to QRCode from react-qr-code . That's it. to do that we would be using the useState hook from React.
// generate.js
import React, { useState } from "react";
import QRCode from "react-qr-code";
import styles from "../styles/Home.module.css";

function Generate() {
  const [qrCodeValue, setQrCodeValue] = useState("");

  return (
    <div className={styles.main}>
          <div className={styles.card}>Generate QR</div>

      {qrCodeValue != "" && (
        <QRCode value={qrCodeValue} className={styles.containerColumn} />
      )}
      <input
        className={styles.card}
        onChange={(e) => {
          setQrCodeValue(e.target.value);
        }}
      />
    </div>
  );
}

export default Generate;

To read the QR code from the file we would be using React Qr code scan just install it using
npm i react-qr-reader
now we will focus on reading the QR code... we can directly import QRCODE from react-qr-reader form the react package and
//scan.js

import React, { useState, useRef } from "react";
import { QrReader } from "react-qr-reader";
import styles from "../styles/Home.module.css";

function Scan() {
  const [data, setData] = useState("No result");

  return (
    <div className={styles.container}>
      <div className={styles.container}>
        <QrReader
          onResult={(result, error) => {
            if (!!result) {
              setData(result?.text);
            }

            if (!!error) {
              console.info(error);
            }

          }
        }
//this is facing mode : "environment " it will open backcamera of the smartphone and if not found will
// open the front camera
        constraints    ={{ facingMode:  "environment"  }}
          style={{ width: "40%", height: "40%" }}
        />
        <p>{data}</p>
      </div>
    </div>
  );
}

export default Scan;
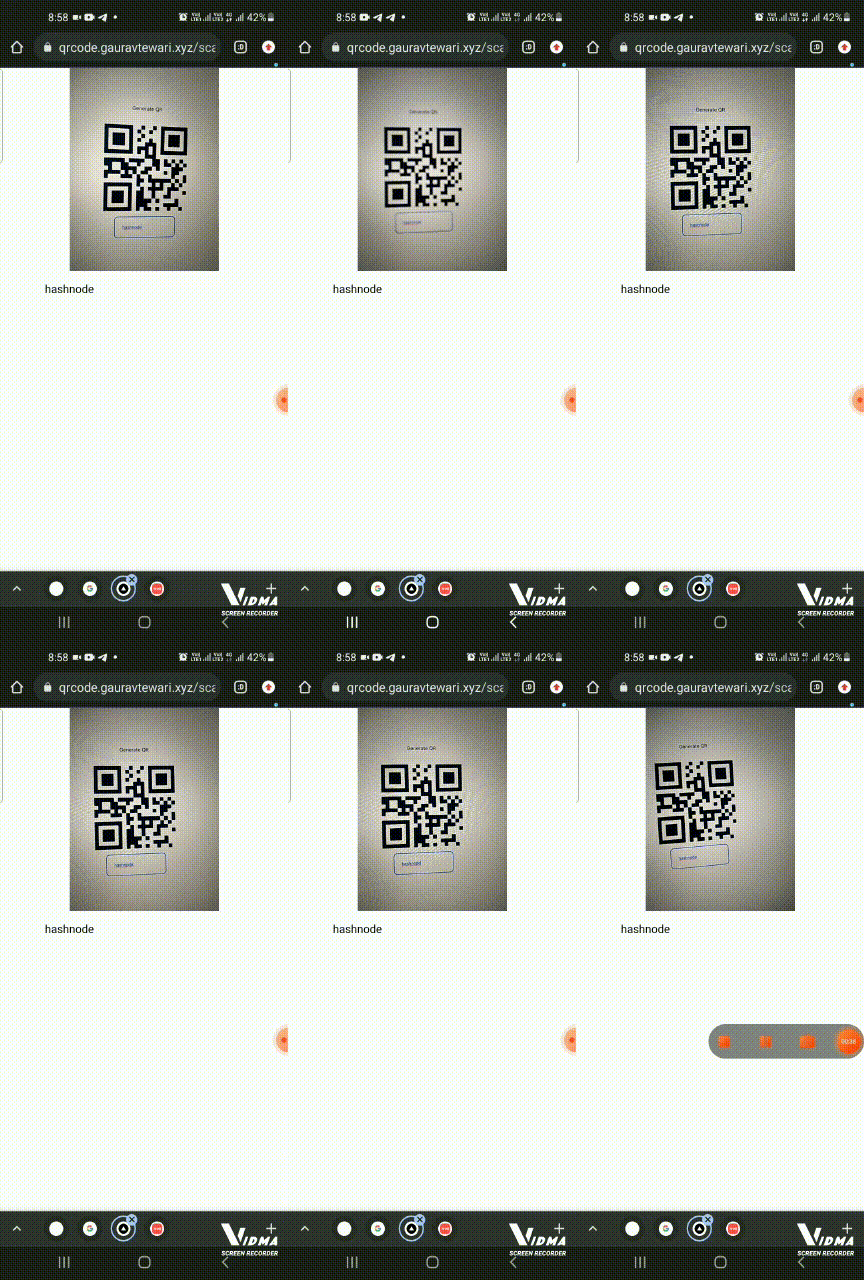 here we are passing facing mode so basically while accessing the camera if we want to access the back camera of the device we can set the facing mode to the environment which will by default open the back camera in the user's phone and will open the web camera in PC. if you want to know more about facing mode check Mozilla's docs
So here are resource materials for the docs Github Live Deployment

